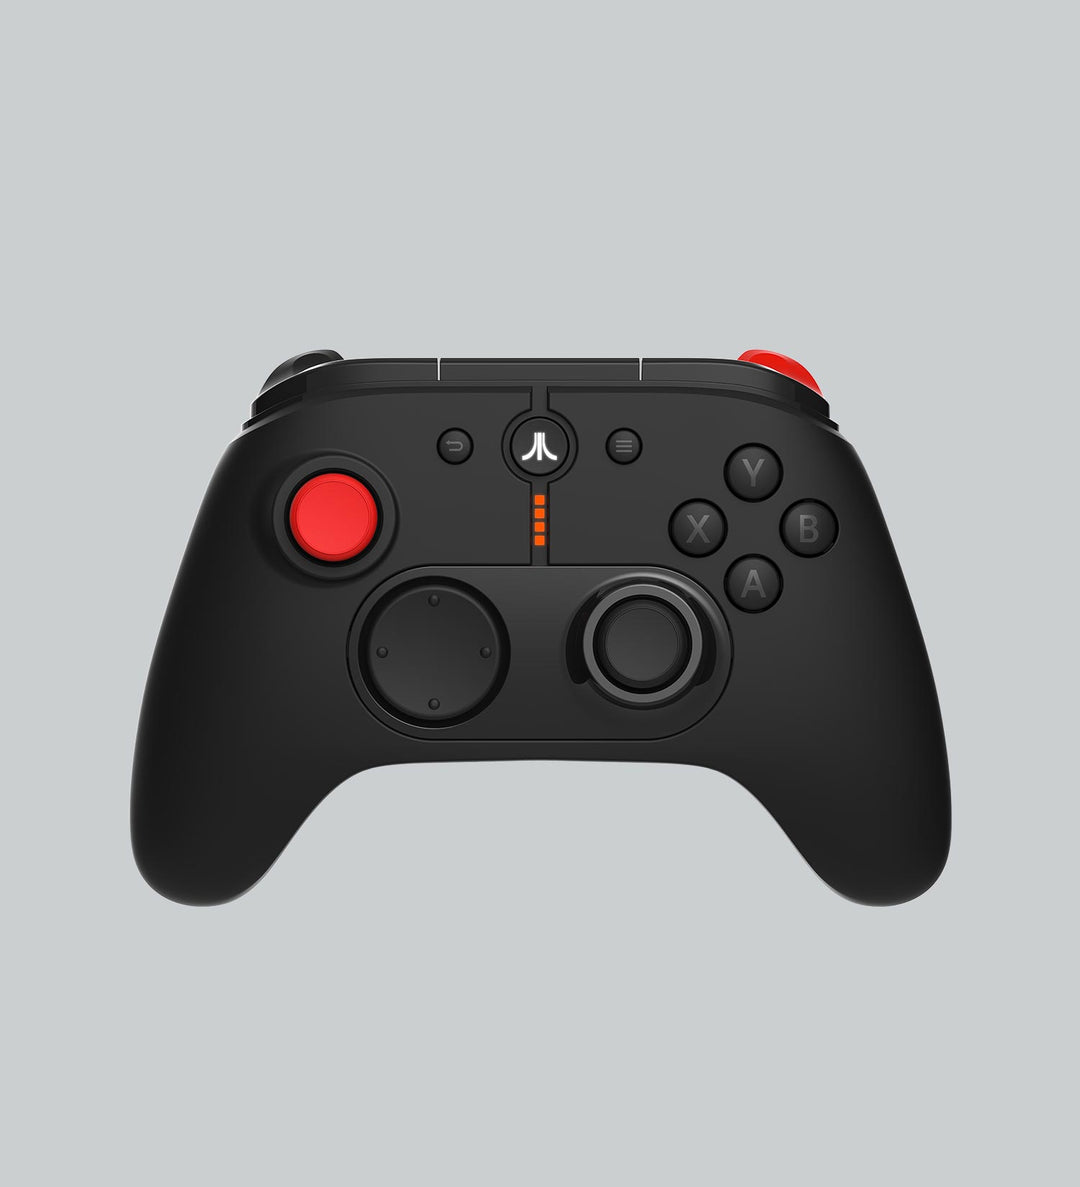
Wireless Modern Controller
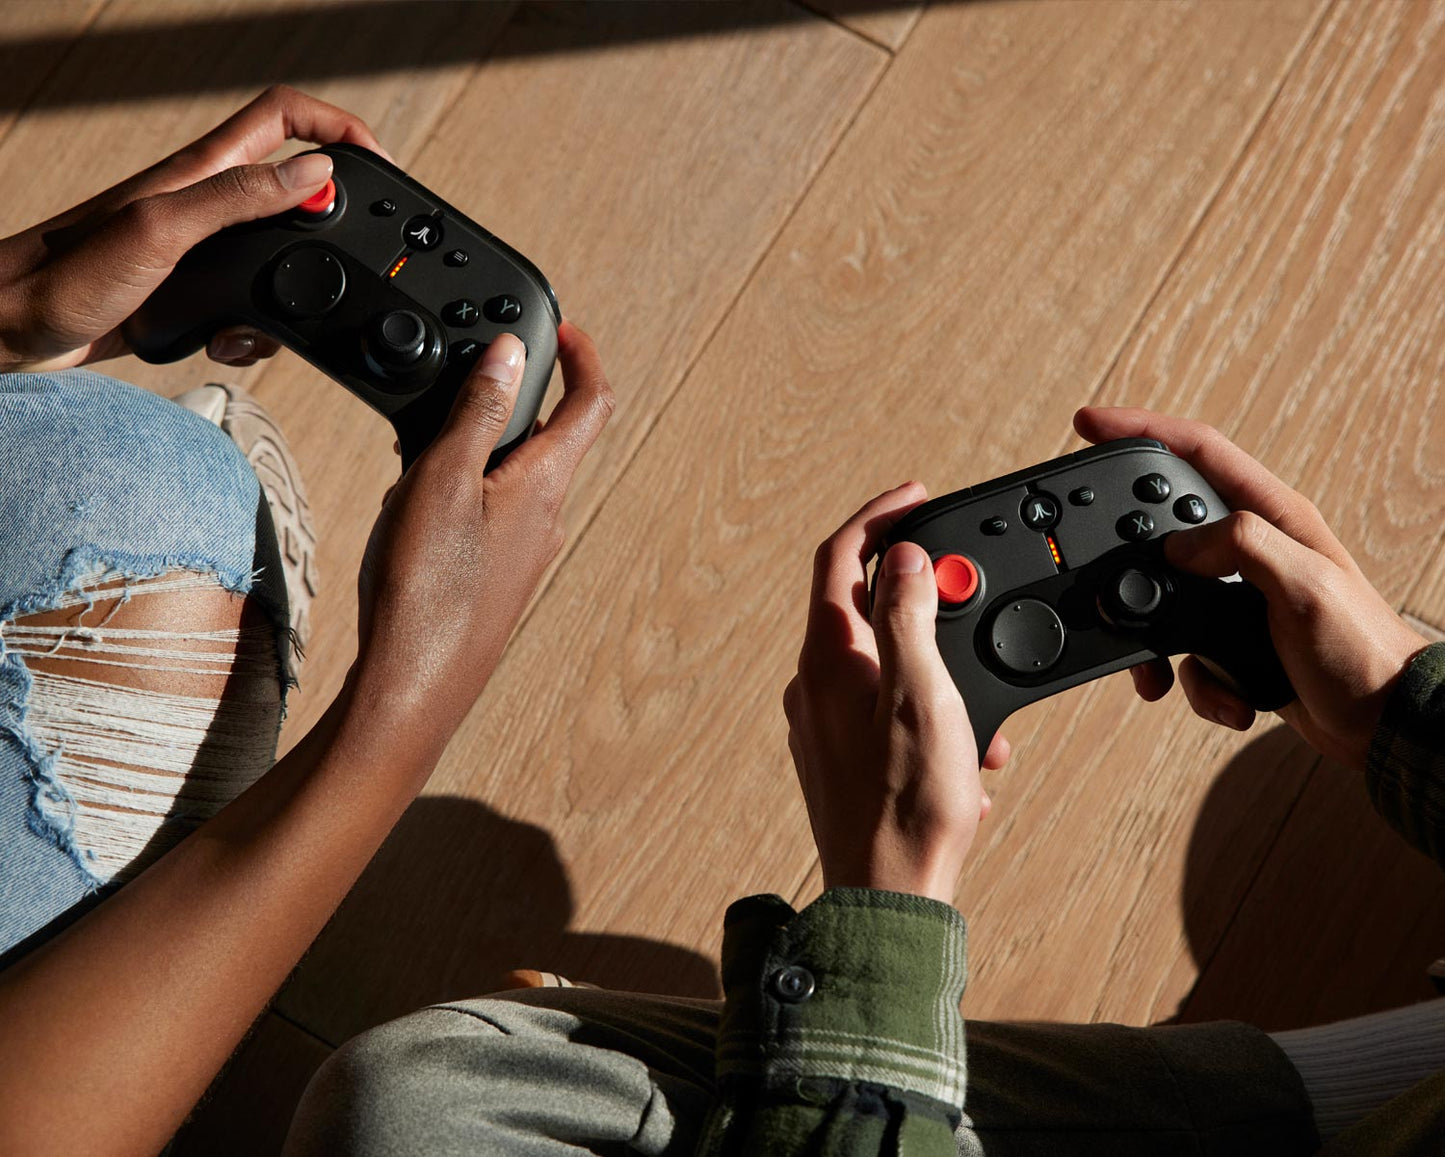


TOTAL CONTROL
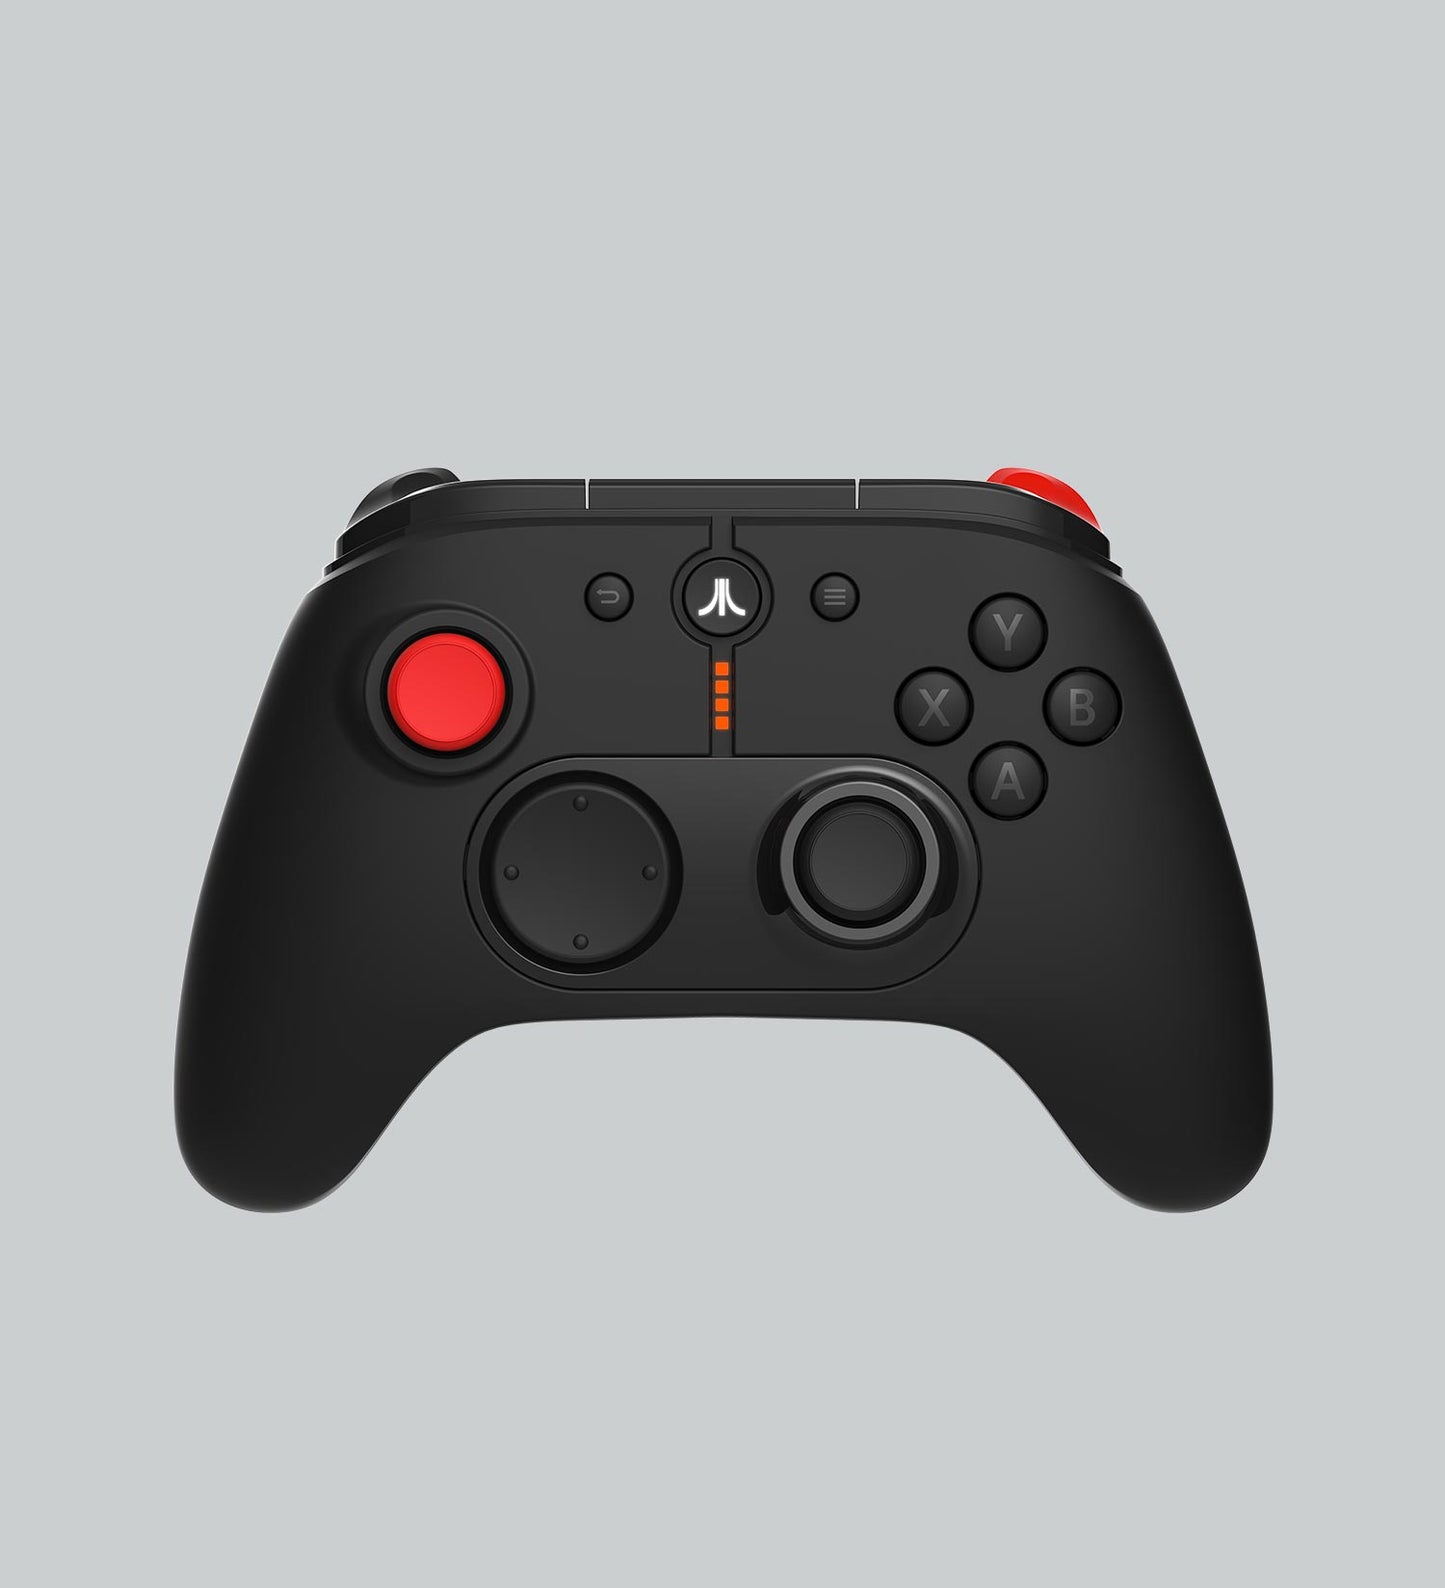
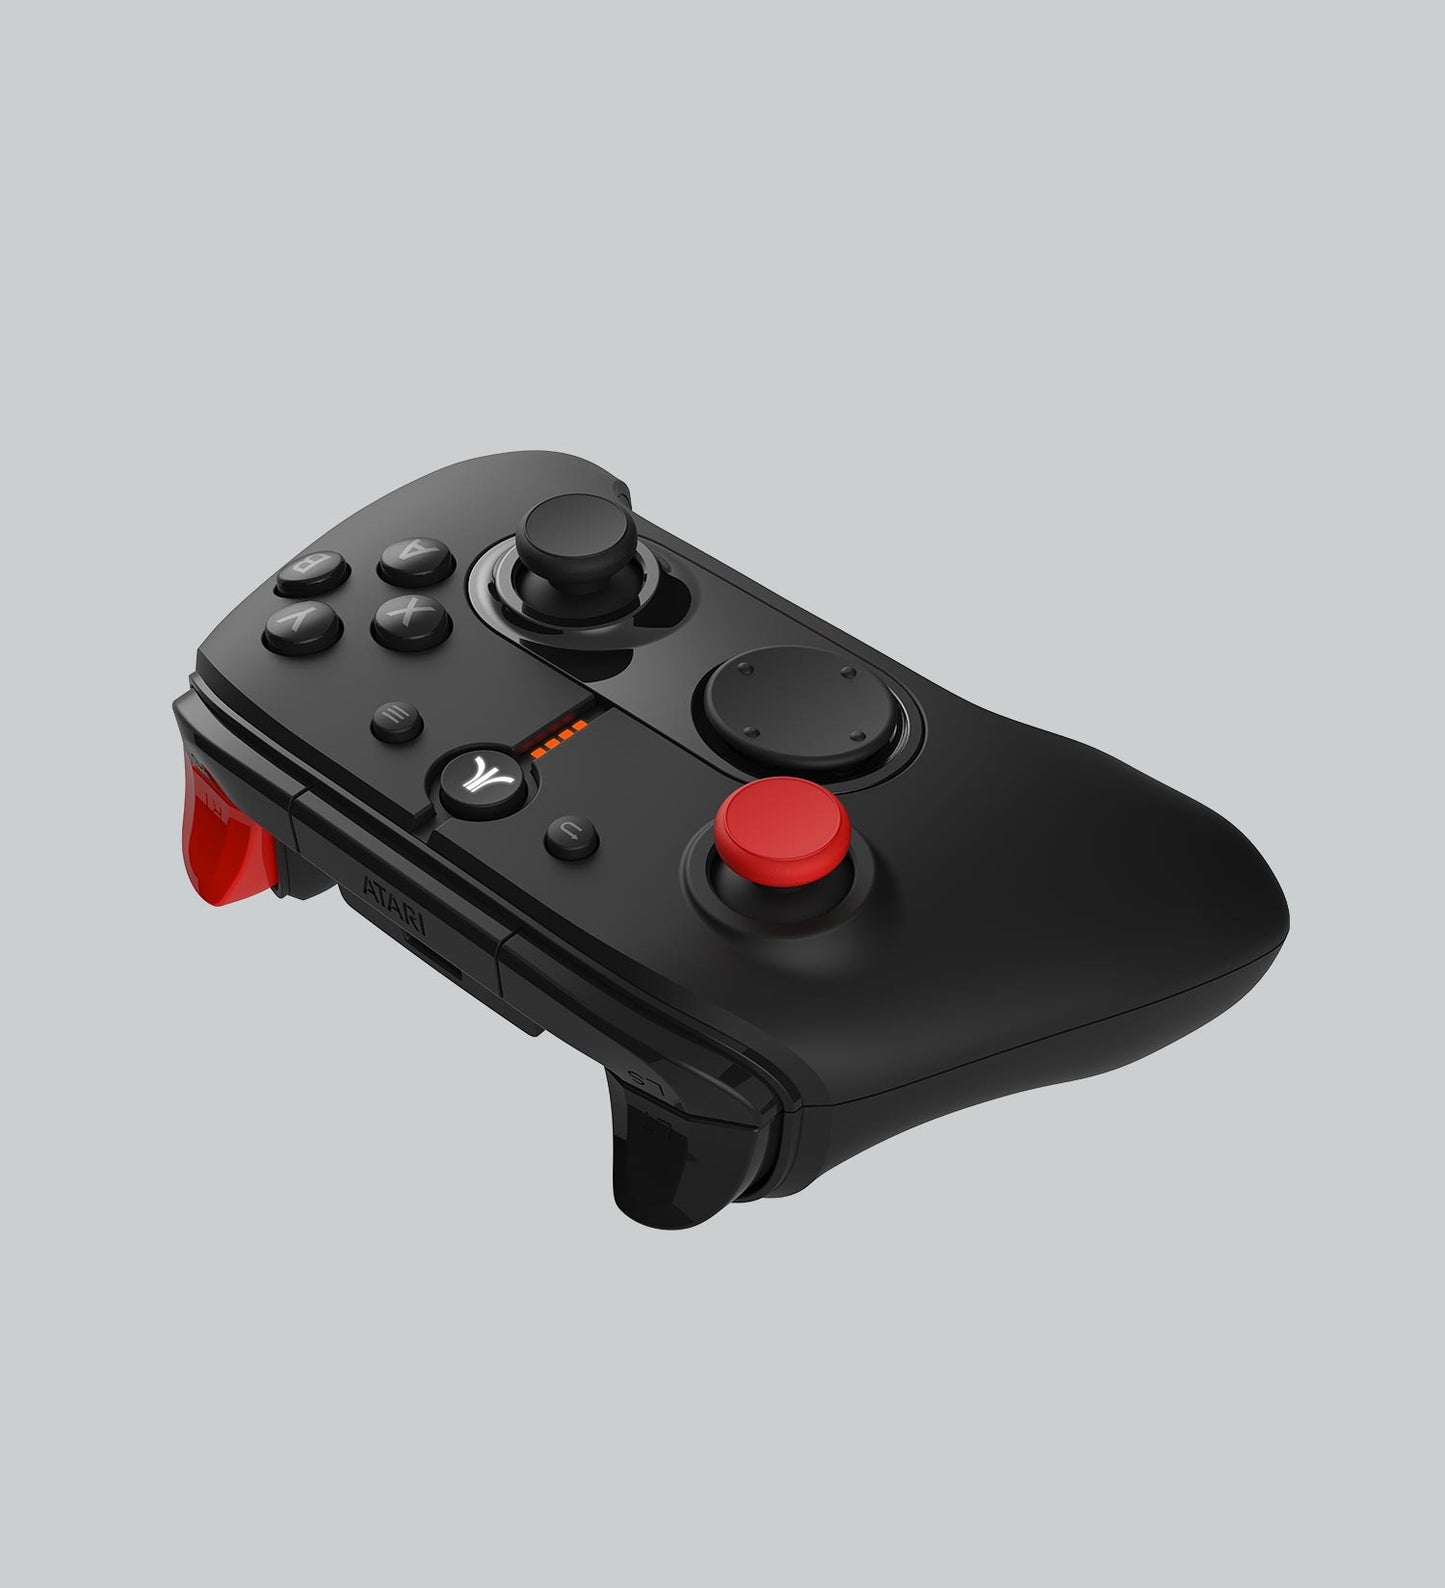
The new VCS™ Wireless Modern Controller delivers the versatility to play games today and tomorrow. Includes integrated battery and USB cable to charge or play in wired mode.
Features
Features
The Atari VCS™ Wireless Modern Controller is designed for full-featured modern gameplay. Bluetooth wireless, rechargeable, PC/mobile compatible.
Availability
Availability
Available now! Ships within 3-5 business days.
Hardware
Hardware
Engineered in partnership with PowerA™.
Box Contents
Box Contents
Atari VCS Wireless Modern Controller includes:
- Atari VCS Wireless Modern Controller
- Micro-USB Cable
PLAY MORE. DO MORE.
CROSS-PLATFORM COMPATIBILITY
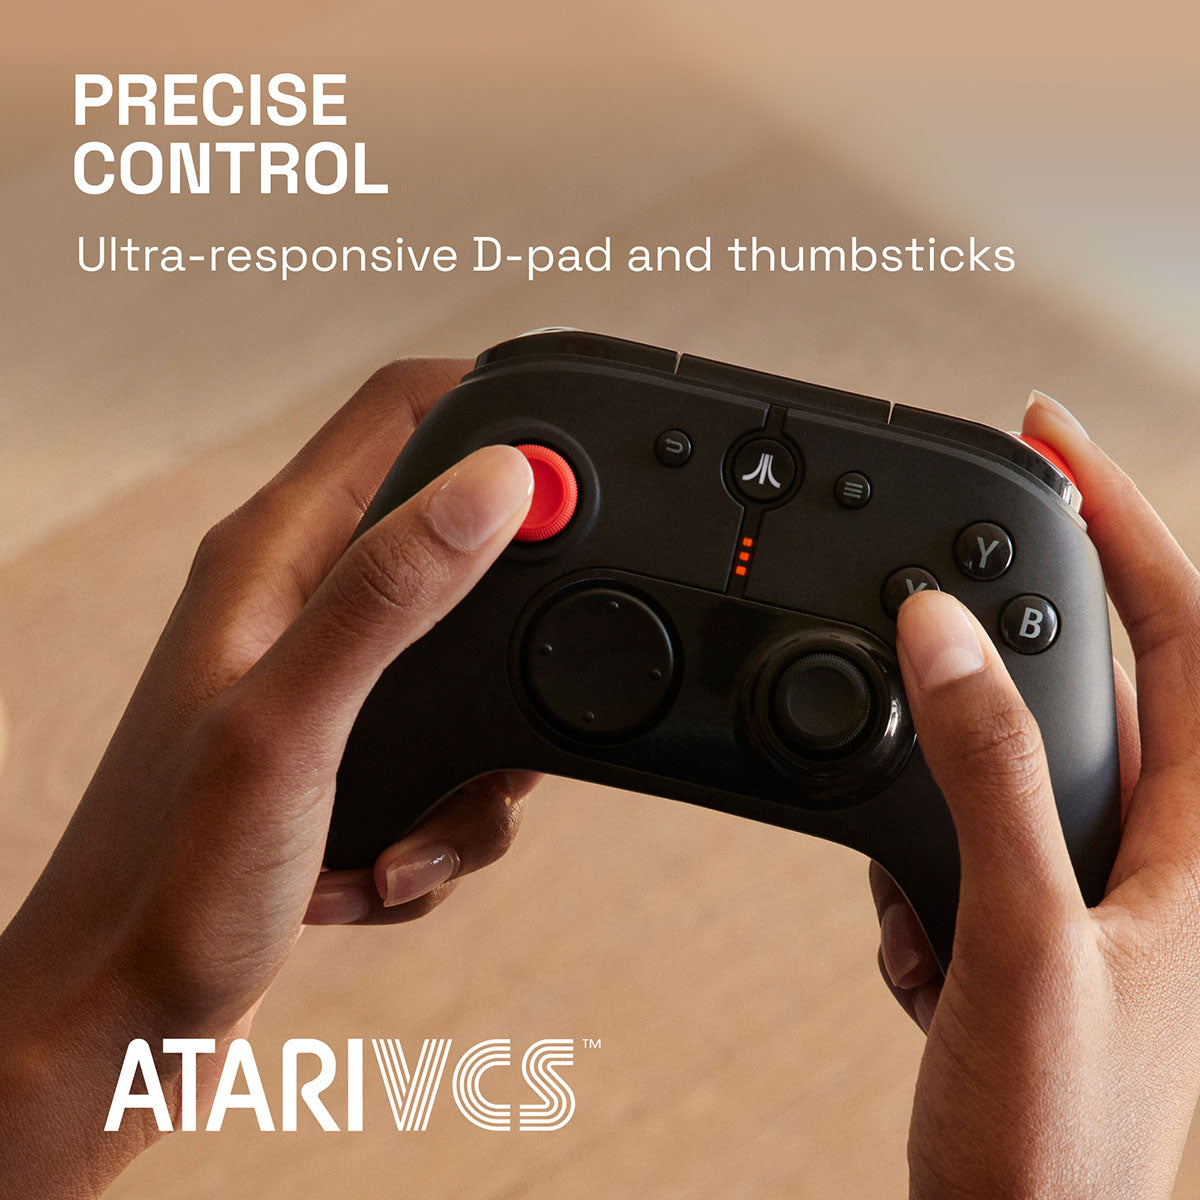
Highly responsive directional-pad and thumbsticks allows precise control of classic games and AAA titles on the Atari VCS and other platforms beyond.
Trigger Control
LED Indicator Light
Specifications
Specifications
Rechargeable Battery
connectivity
connectivity
Bluetooth Wireless
Dimensions
Dimensions
Size
user manual
user manual
package contents
• Atari VCS Wireless Modern Controller
• Controller USB Play/Charge Cable
features
• Bluetooth wireless
• Rechargable
• PC/Mobile compatible
• Rumble
Quickstart Guide: VCS System

CAUTION: Risk of explosion if battery is replaced by an incorrect type. Dispose of used batteries according to the instructions.
ATTENTION: Risque d'explosion si la batteries est remplacée par un type incorrect. Mattre au rebus les batteries usagées selon les instructions.
This product is intended to be supplied with a LISTED POWER UNIT, marked with "Limited Power Source", "LPS" on unit, output rated 19Vdc, min. 3.42A, min. 2000m attitude of operations and Tma = 40°C
Quickstart Guide: Controllers
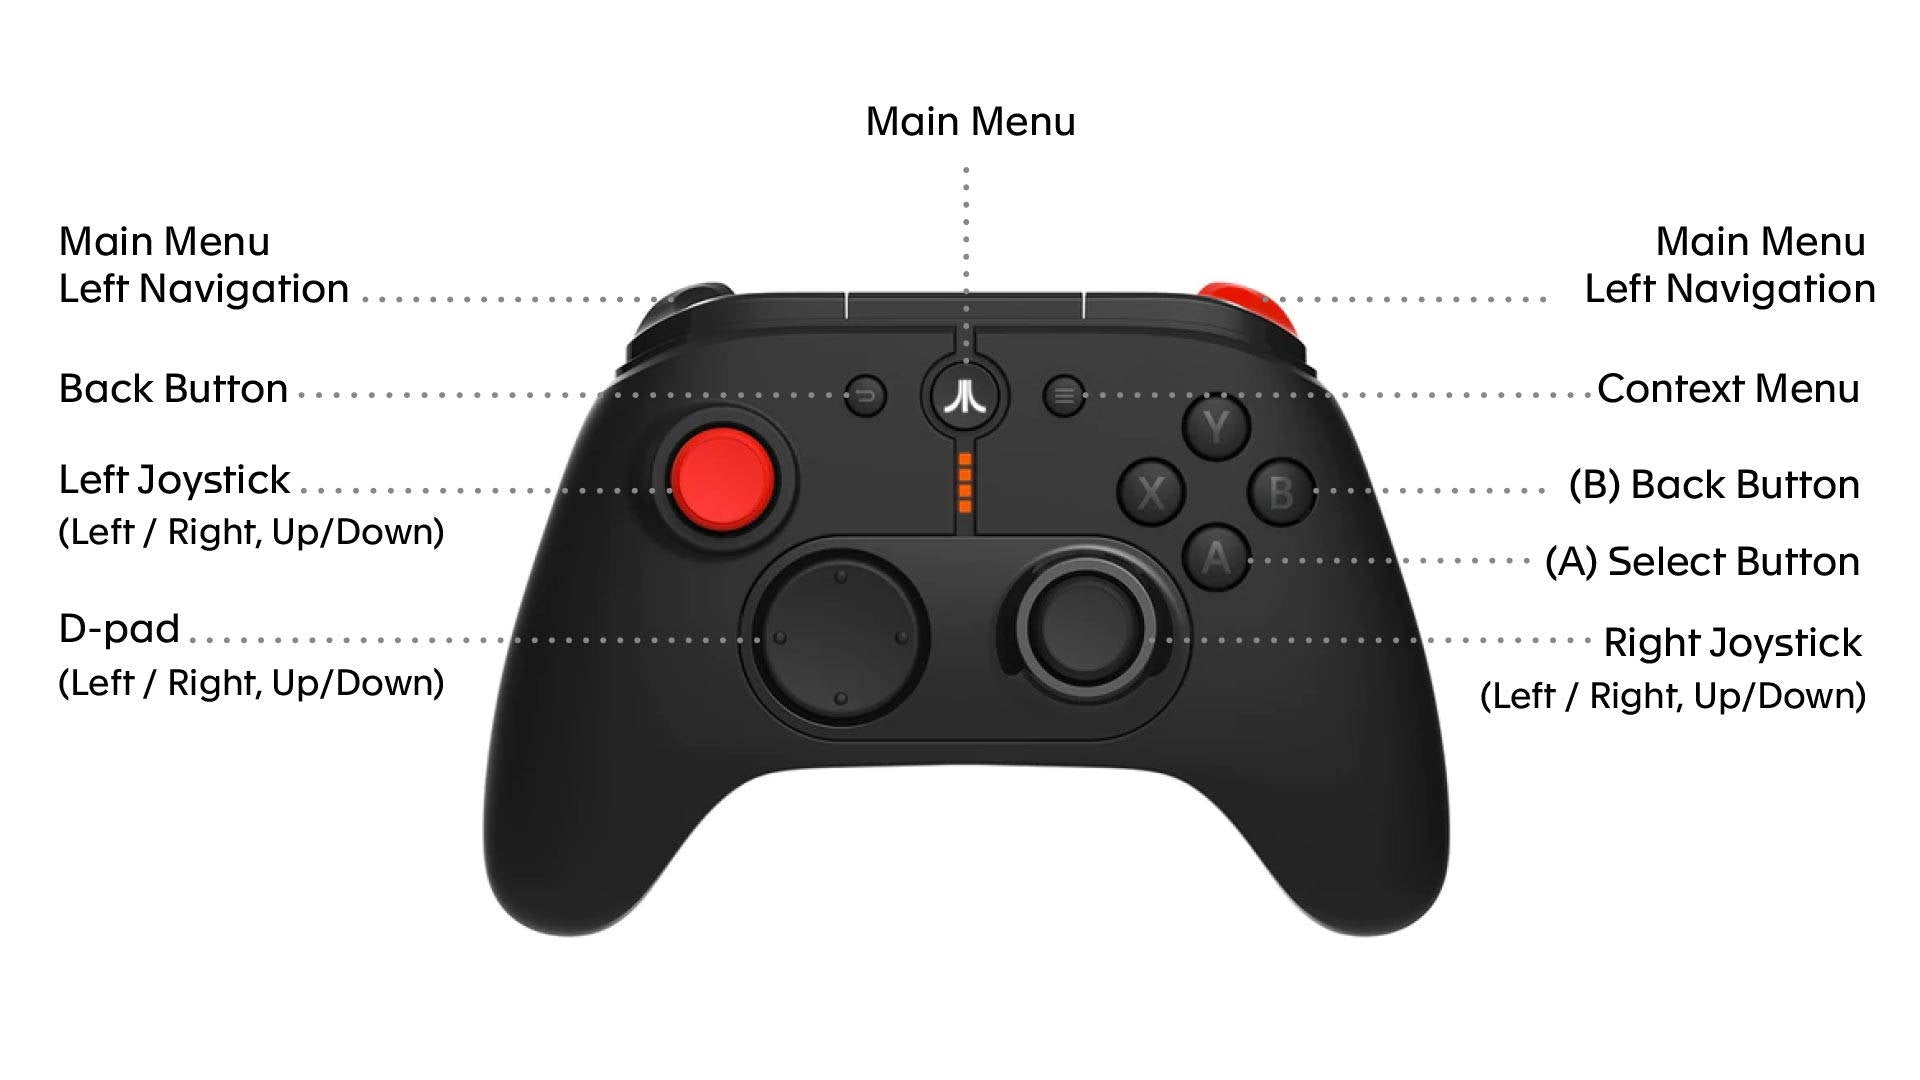
Button Layout
wired connection
1. Connect your Atari VCS Wireless Modern Controller to the Atari VCS using the USB Play/Charge cable.
2. Power on your Atari VCS.
3. When the Atari VCS recognizes the controller, it will display a message on the screen.
wireless pairing
1. Power on your Atari VCS.
2.Wait for the Atari logo animation to finish playing.
3. You will see a flashing blue icon on the screen to indicate that the VCS is seeking a connection.
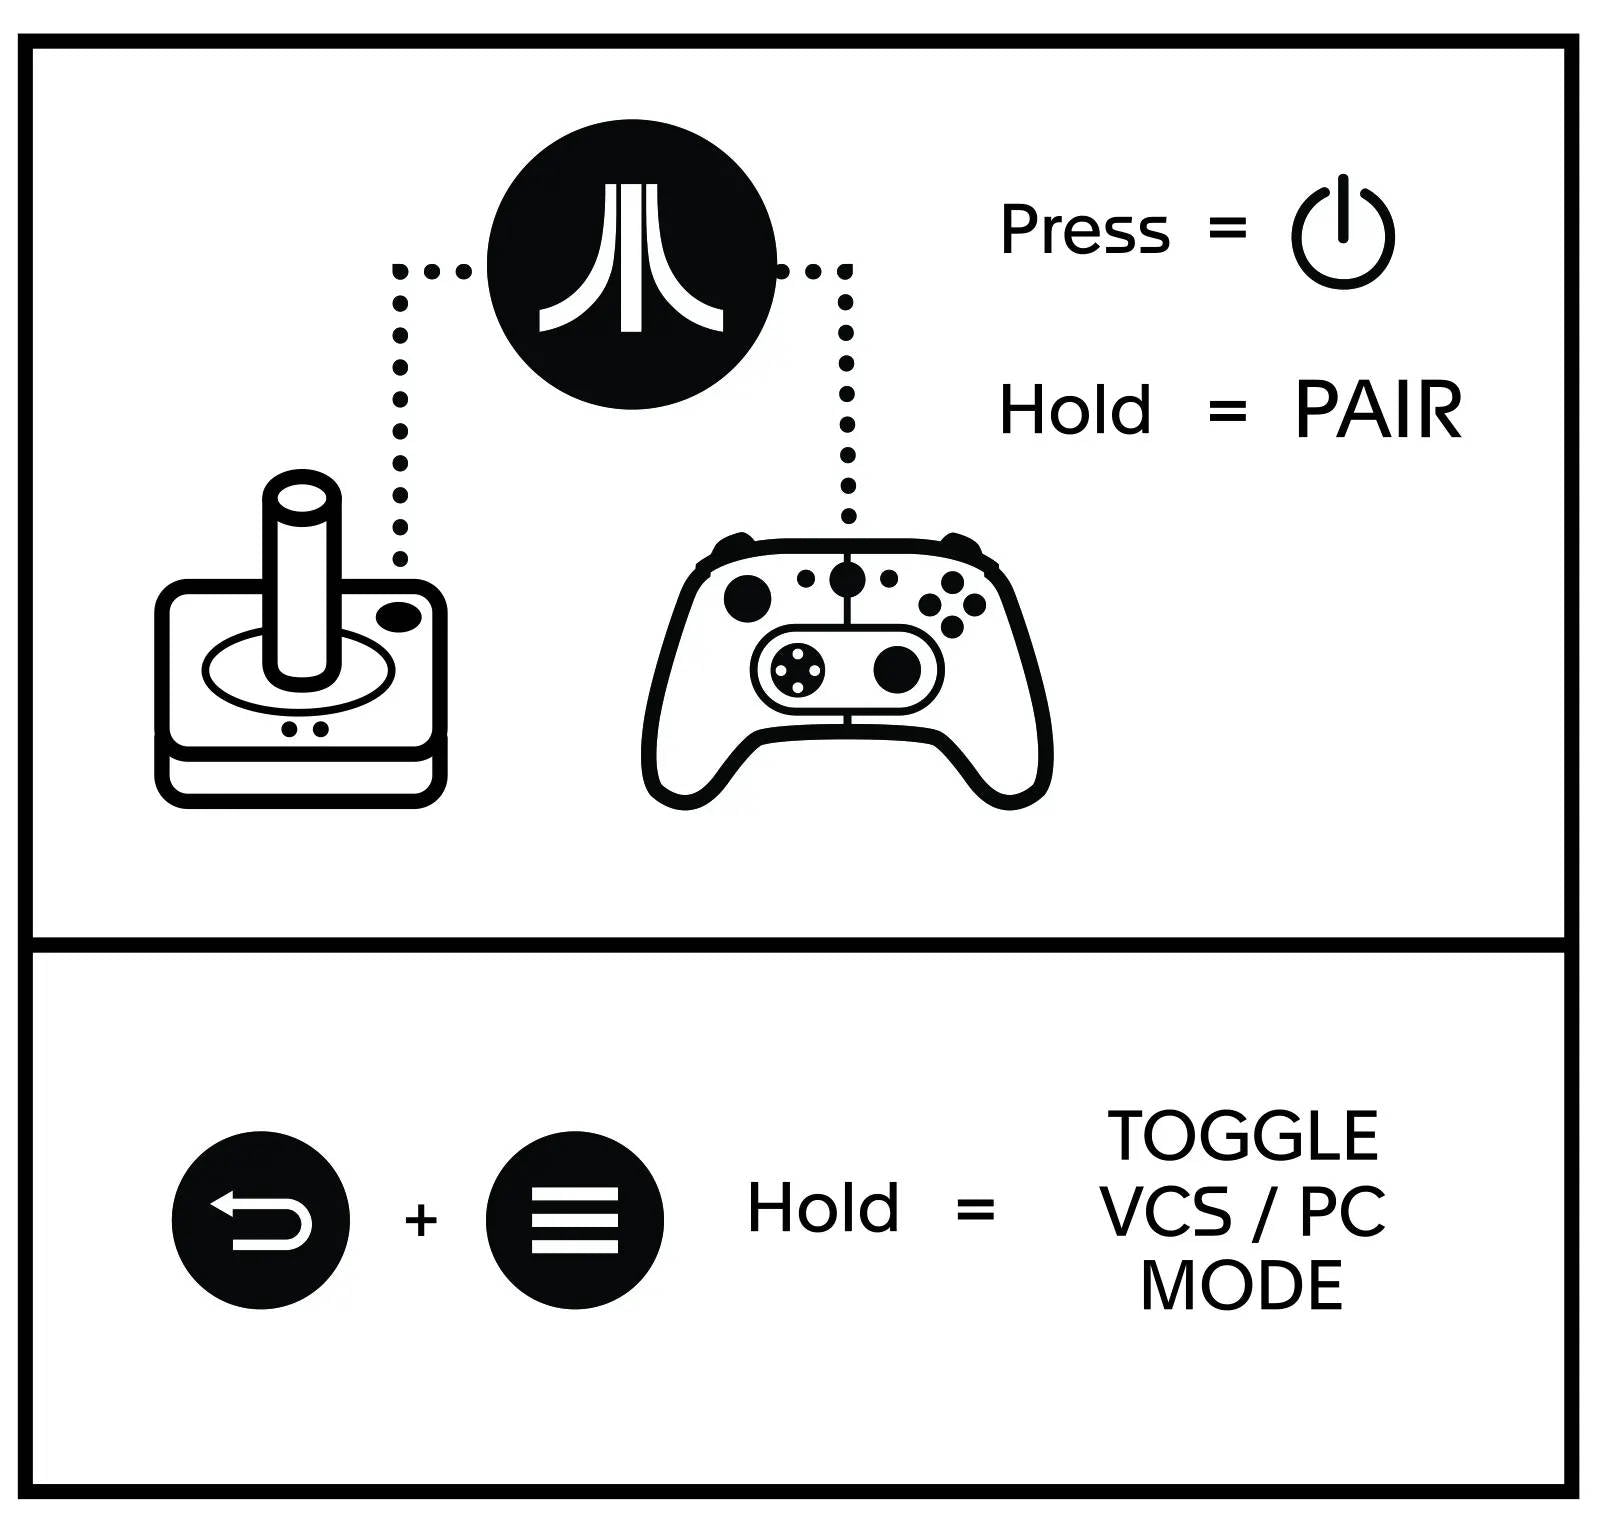
4. Press and Hold the Atari Fuji logo button on the controller until the Fuji flashes quickly indicating it is pairing, after a few seconds you will see a message on your monitor that the Atari VCS has recognized and connected to the controller.
Once a controller is paired, it will auto-connect when next powered on by simply pressing the Atari Fuji logo button. The Fuji will flash slowly, and after a few seconds you will see a message at the top of the Atari VCS screen indicating the controller is connected. The battery will need to be recharged occasionally by plugging into the USB.
light and LED indicators
The Atari Fuji logo button in the center of the controller:
• Flashing quickly on and off = attempting to pair via Bluetooth
• Flashing slowly on and off = attempting to reconnect via Bluetooth or if connected via USB
• Steady glow = powered on
Four vertical LED lights:
• One LED = 0 to 25% battery life
• Two LEDs = 26 to 50% battery life
• Three LED = 51 to 75% battery life
• Four LEDs = 76 to 100% battery life
Charging
To charge the controller, connect your Atari VCS Wireless Modern Controller to the Atari VCS using the USB Play/Charge cable. Plug the male mini-USB connector into the controller, and plug the male USB connector into any available USB port on the Atari VCS. You can also charge the controller via the USB port on a computer, and with most standard USB wall chargers.
compatibility
The Atari VCS Wireless Modern Controller is designed to work with the Atari VCS, but is also compatible with most PCs and mobile devices.
PC mode
The Atari VCS Modern Controller can also emulate a PC controller.
To enter PC Mode press and hold the BACK and CONTEXT MENU buttons simultaneously for five seconds. The Atari Fuji logo button will flash on and off until the controller has entered PC Mode.
A message will display at the top of the Atari VCS screen indicating that a PC controller has been connected.
troubleshooting
Q1. My Wireless Modern Controller is not pairing.
A1. Confirm that the controller is charged by pressing the Atari Fuji logo button, if the button does not glow, you must connect charge the battery using the USB Play/Charge cable.
A2. Confirm you are following the pairing process listed above.
A3. Update the controller firmware.
1. In the Atari VCS Dashboard, for to System -> Devices
2. Select “Update Controllers”
Q2. My Wireless Modern Controller is drifting/moving on its own, or is responding inaccurately.
A1. Recalibrate your controller:
1. Connect the MicroUSB cable to the MicroUSB port of the controller.
2. Hold down the “back arrow”, “Atari Fuji logo” and “3 lines” buttons at the same time and connect the USB cable to the USB port of your VCS (or PC).
3. The LED will give a quick flash indicating this controller is in the calibrate mode.
4. Rotate the left joystick 360 degrees three times. Rotate the right joystick 360 degrees three times.
5. Press the left trigger all the way down three times. PRess the right trigger all the way down three times.
6. Press both the "D-PAD Down" and "Y" button at the same time to save and exit the calibrate mode.
motion warning
Playing video games can make your muscles, joints, skin or eyes hurt. Follow these instructions to avoid problems such as tendinitis, carpal tunnel syndrome, skin irritation or eye strain:
• Avoid excessive play. Take a 10 to 15 minute break every hour, even if you don’t think you need it. Parents should monitor their children for appropriate play.
• If your hands, wrists, arms or eyes become tired or sore while playing, or if you feel symptoms such as tingling, numbness, burning or stiffness, stop and rest for several hours before playing again.
• If you continue to have any of the above symptoms or other discomfort during or after play, stop playing and see a doctor.
FCC statement
Note: This equipment has been tested and found to comply with the limits for Class B digital device, pursuant to Part 15 of the FCC Rules. These limits are designed to provide reasonable protection against harmful interference in a residential installation. This equipment generates, uses and can radiate radio frequency energy and, if not installed and used in accordance with the instructions, may cause harmful interference to radio communications. However, there is no guarantee that interference will not occur in a particular installation. If this equipment does cause harmful interference to radio or television reception, which can be determined by turning the equipment off and on, the user is encouraged to try to correct the interference by one or more of the following measures:
• Reorient or relocate the receiving antenna.
• Increase the separation between the equipment and receiver.
• Connect the equipment into an outlet on a circuit different from that to which the receiver is connected.
• Consult the dealer or an experienced radio/ TV technician for help.
This Class B digital apparatus complies with Canadian ICES-003.
This device contains license-exempt transmitter(s)/receiver(s) that comply with Innovation, Science and Economic Development Canada’s licence-exempt RSS(s). Operation is subject to the following two conditions:
• This device may not cause interference.
• This device must accept any interference, including interference that may cause undesired operation of the device.
L’émetteur/récepteur exempt de licence contenu dans le présent appareil est conforme aux CNR d’Innovation, Sciences et Développement économique Canada applicables aux appareils radio exempts de licence. L’exploitation est autorisée aux deux conditions suivantes:
• L’appareil ne doit pas produire de brouillage;
• L’appareil doit accepter tout brouillage radioélectrique subi, même si le brouillage est susceptible d’en compromettre le fonctionnement.


